


There's nothing worse than spending twenty minutes applying a gorgeous new set of press-on nails, only for one to go flying across the room moments later. It’s frustrating, it’s a bit embarrassing, and it’s exactly why some people still think false nails are just not fit for purpose.
At Loste, we’re on a mission to change that. Our reusable nails are crafted with a unique 5-layer soft gel technology, meaning they don’t just look like a professional salon manicure, they have the strength to match.
So, if you want your glue-on nails to stay put for up to 14 days (yes, really!), it’s all in the technique. As the founder who lives and breathes the "reusable revolution," I'm sharing the secret steps to a bomb-proof application.

1. The Golden Rule: Always do the prep steps!
If you skip the prep, you’re basically asking your nails to pack their bags. The goal is to create a clean, dry, and slightly textured surface for the nail glue to grab onto.
- Push Back Those Cuticles: Use the cuticle stick in your Loste kit to gently push back your cuticles. If the press-on sits on your skin rather than your nail bed, it will lift within hours.
-
Buff Away the Shine: Use your nail file to roughen the surface of your natural nail lightly. You’re not trying to file it down, just removing the natural oils and creating grip.
-
The Alcohol Wipe is Your Best Friend: This is the most crucial step. Use an alcohol prep pad to dehydrate the nail. Any lingering oil or dust is the enemy of long-lasting press-on nails.
Click here for a full tutorial on prepping your nails for false nails.

2. Find Your Perfect Fit
Before you even touch the glue, lay out your soft gel nails and size them up.
-
Pro Tip: If you are between sizes, always go smaller. A nail that is too wide and touches the skin will pop off because it can’t form a proper seal.
-
Check the Numbers: All Loste nails are numbered on the underside to help you remember your perfect fit for next time!

3. The "Double Glue" Method
For a manicure that survives the gym, the shower, and life in general, don’t just glue the nail.
-
Apply a thin layer of glue to your natural nail.
-
Apply a small dot of glue to the back of the Loste nail.
-
The 45-Degree Angle: Don’t just press it flat down. Angle the nail at 45 degrees, tuck it right up to the cuticle line, and then roll it down onto the nail bed. This pushes out air bubbles, which are the leading cause of premature pop-offs.
4. The 30-Second Hold
Patience is a virtue, especially in the beauty world. Once the nail is on, press and hold firmly for at least 30 seconds. Ensure you’re applying pressure to the entire surface, the sides, the tip, and the base.
How to Make Your Press-On Nails Last Even Longer
Once they’re on, you need to protect your investment. Here’s how to treat your salon-quality nails with the respect they deserve:
-
Avoid Water for 2 Hours: Let that glue fully cure. Avoid the temptation to wash up or jump in the shower immediately after application.
-
Use Tools, Not Nails: Your nails are jewels, not tools! Use scissors to open packages instead of your falsies.
-
Gloves are Chic: If you’re doing the dishes or using harsh cleaning chemicals, wear gloves. Hot soapy water is the ultimate solvent for nail adhesive.

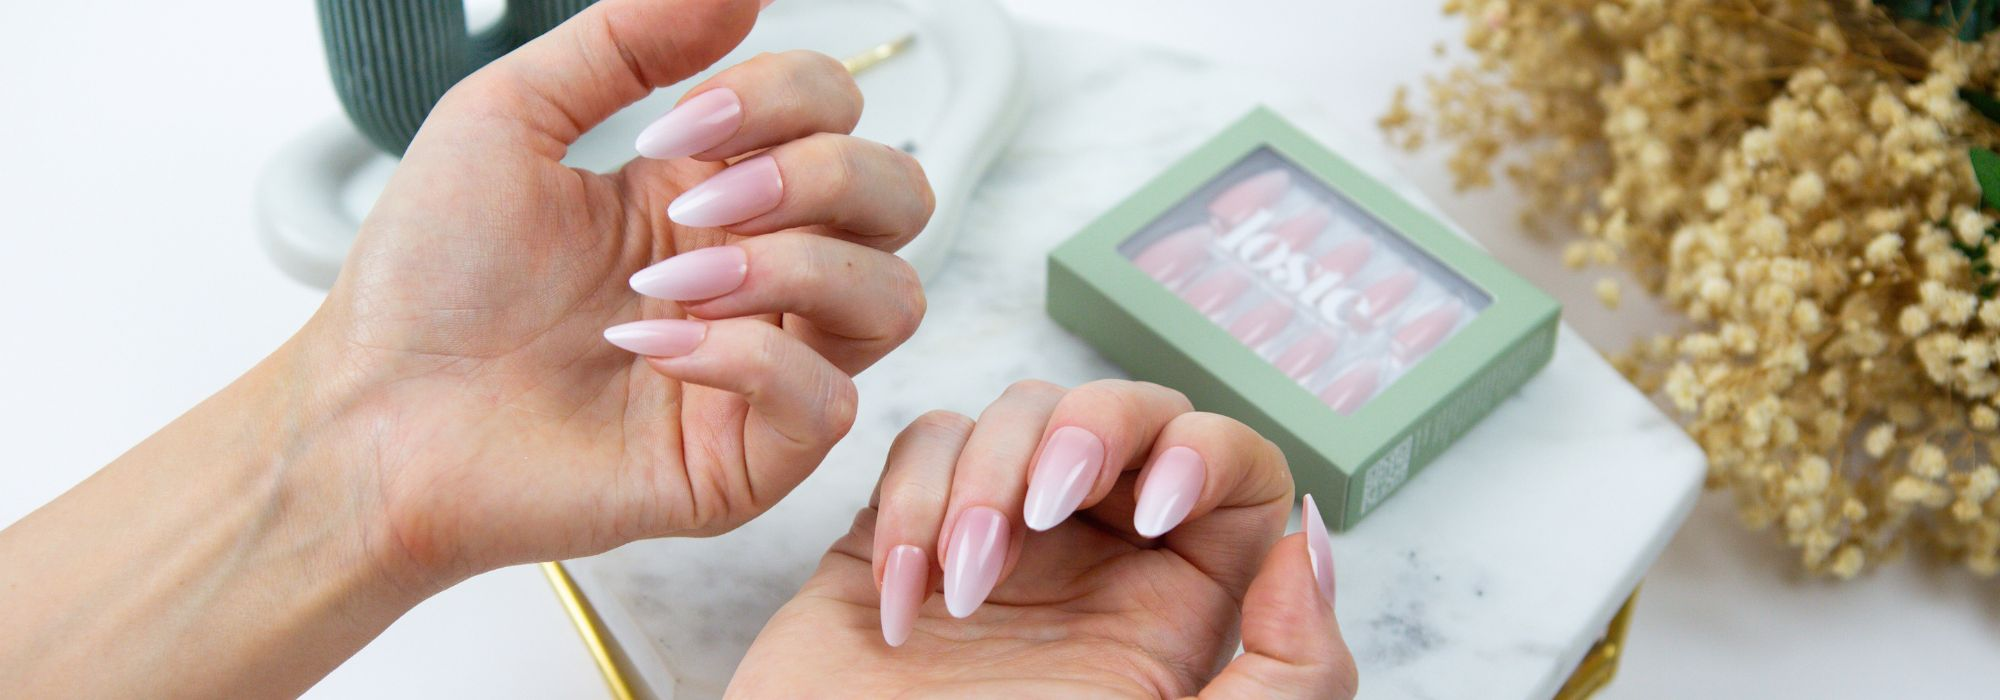
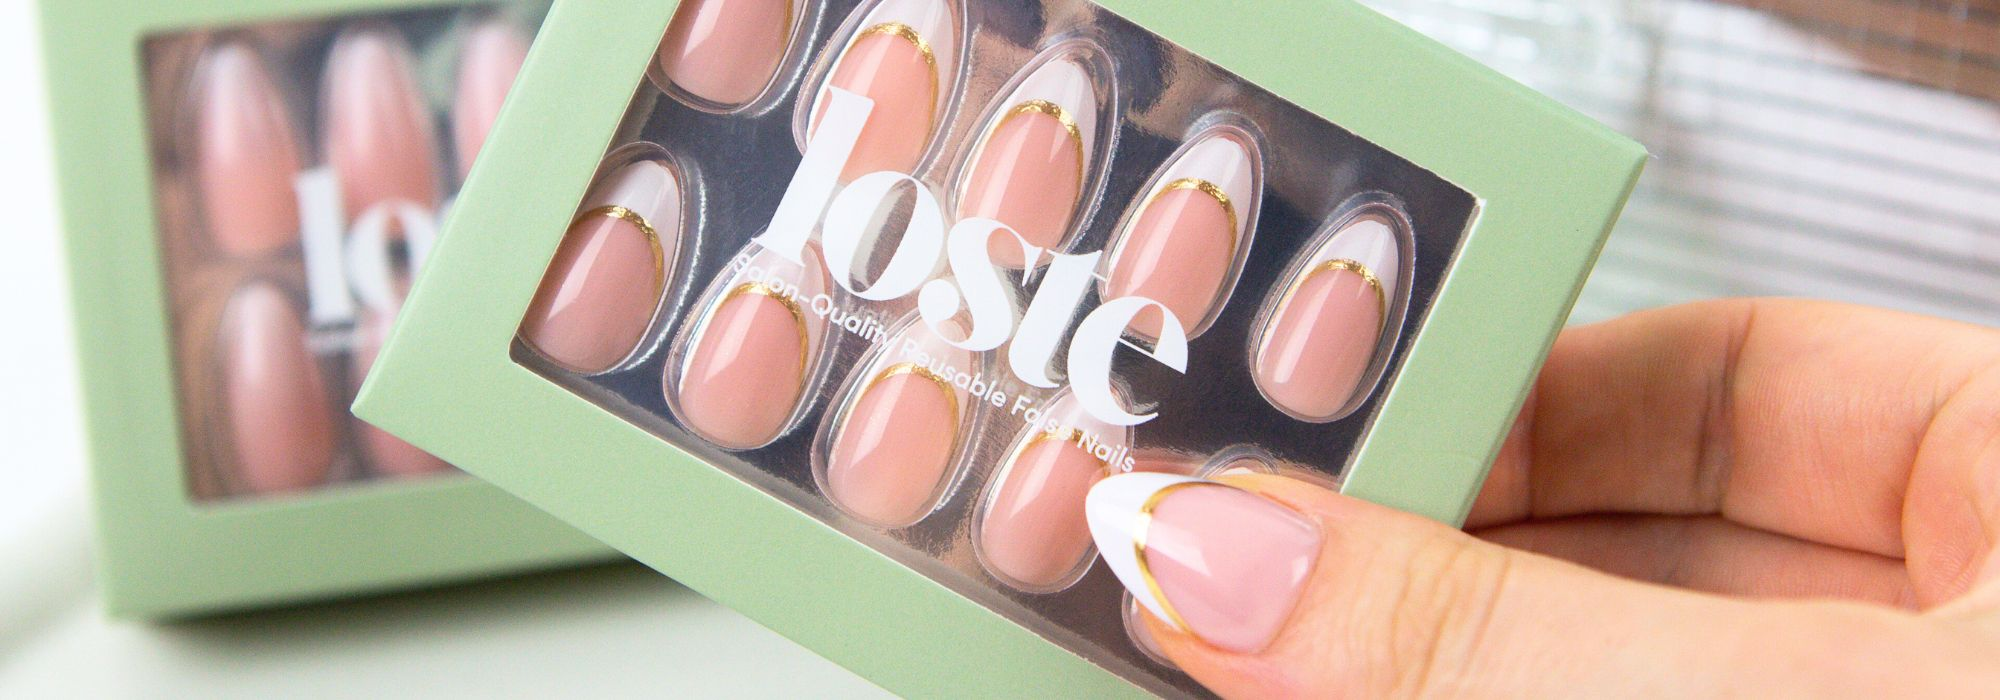
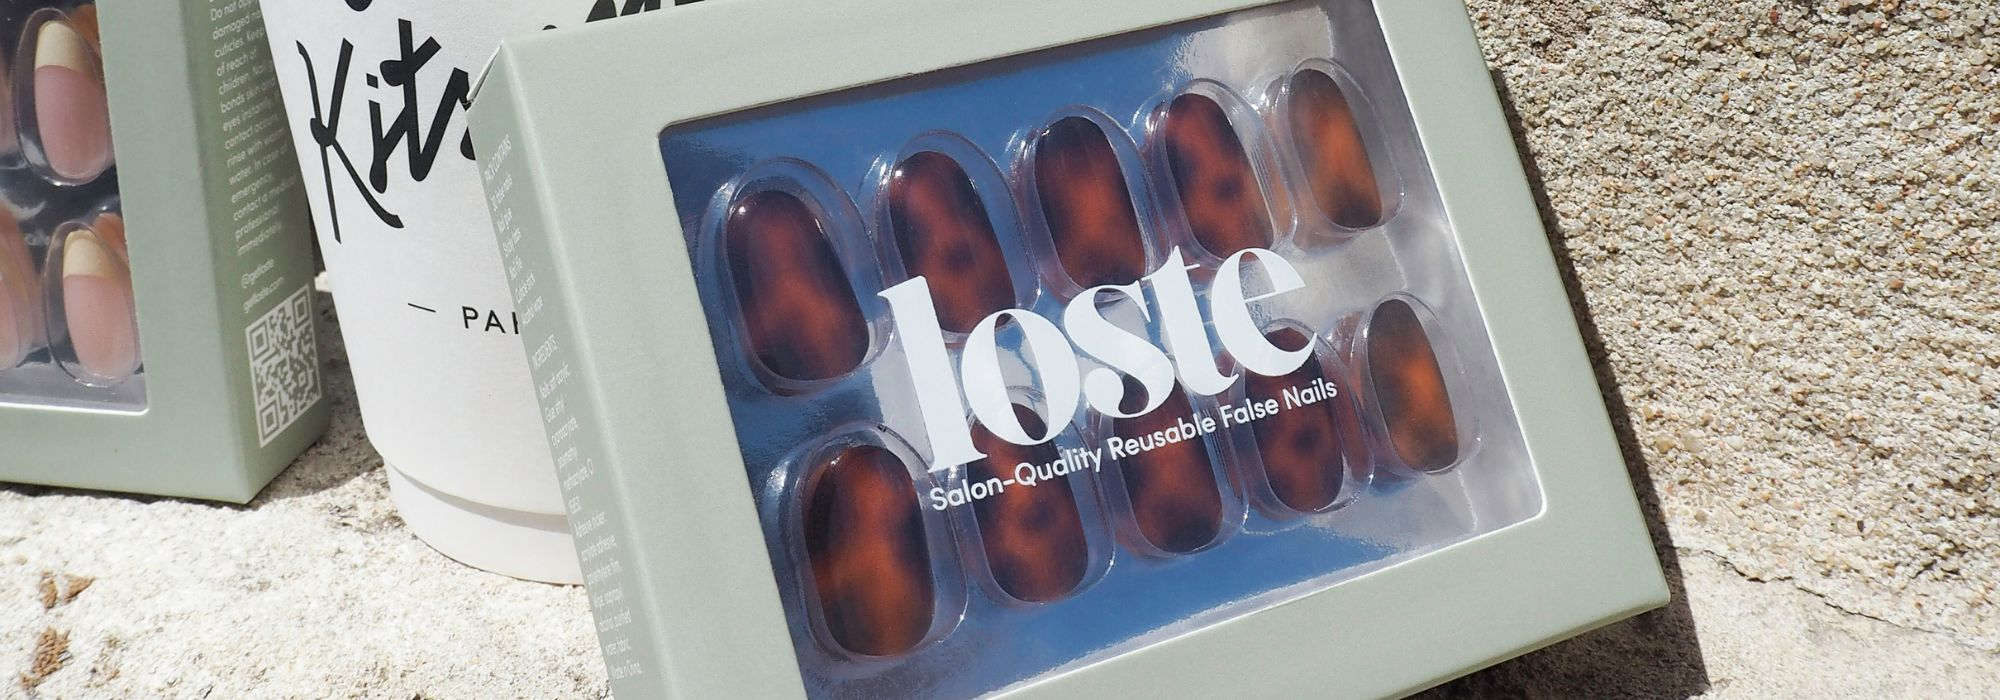
Why Choose Loste Reusable Nails?
Unlike the flimsy plastic fake nails of the past, Loste reusable false nails are designed for the modern, busy woman. Because we use soft gel technology, our nails are flexible enough to be comfortable but tough enough to be reusable up to 10 times.
Whether you’re looking for a classic French tip, a flattering almond shape, or a bold short nail, we’ve got you covered with a damage-free manicure you can do in five minutes flat.
Ready to join the reusable revolution? Shop the latest Loste collection here and get free shipping on orders over £40!


