

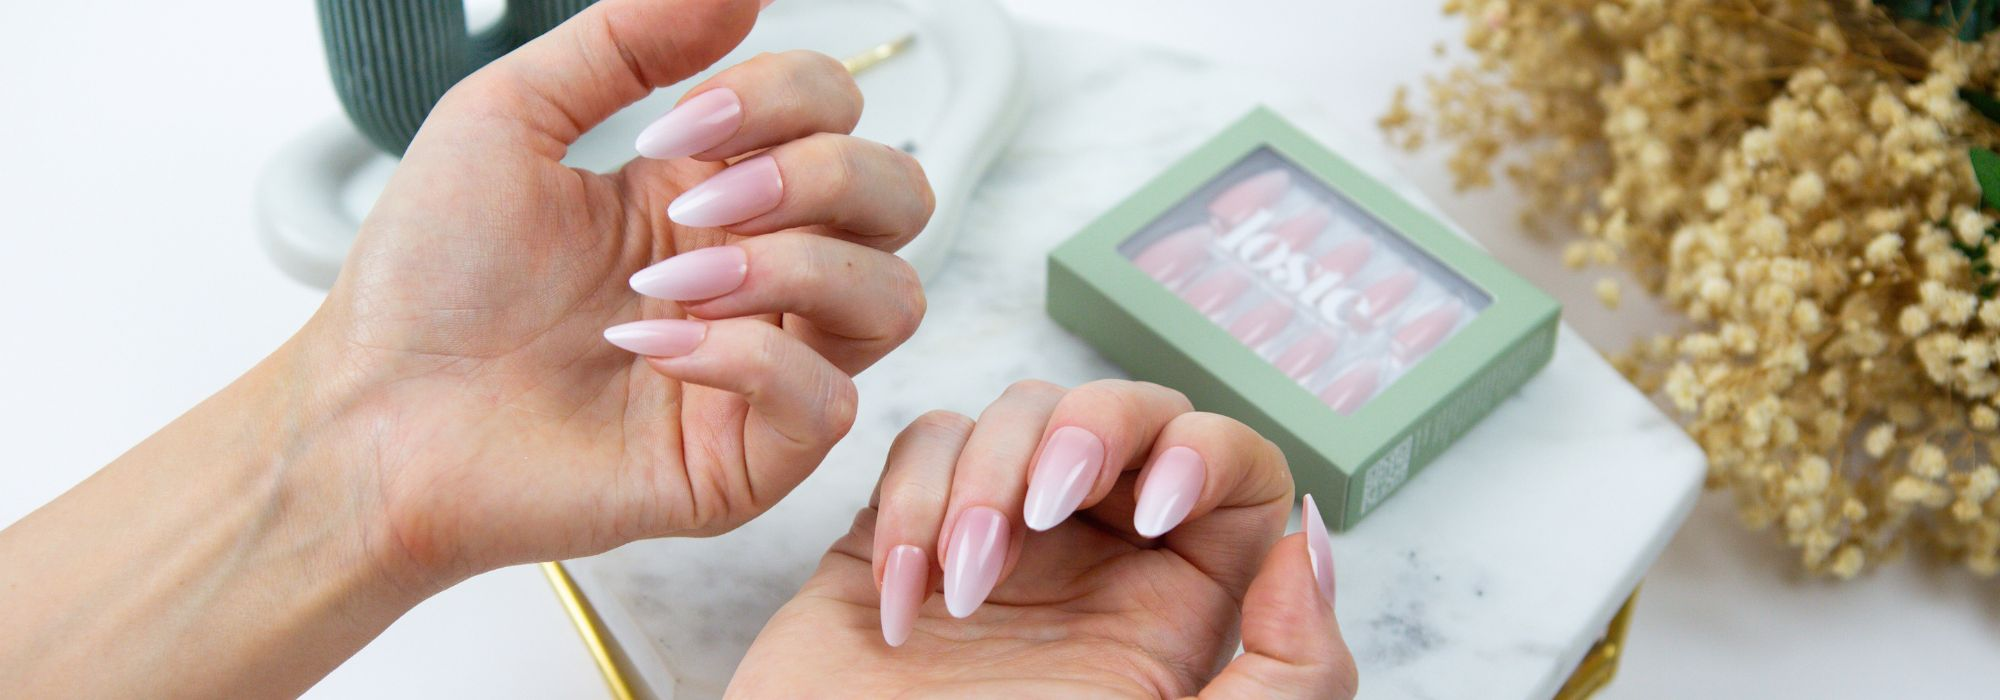


So, you’ve got your hands on a set of Loste reusable false nails, and you’re ready for that fresh-out-of-the-salon look. We know you’re excited to get them on, but if you want your manicure to stay flawless for 14+ days, there is one golden rule: It’s all in the prep.
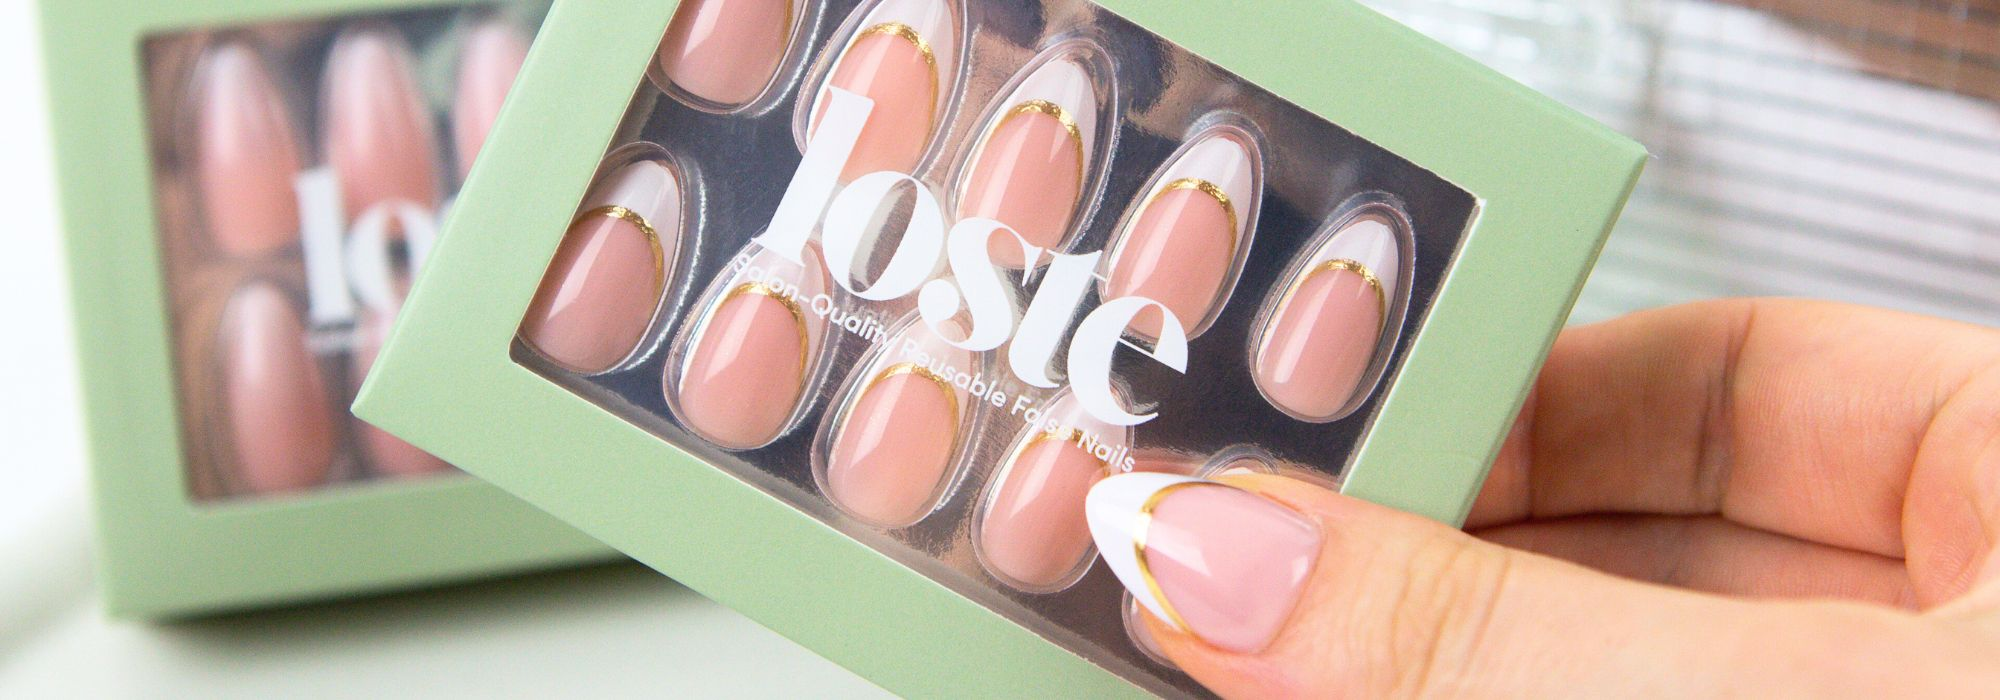
Think of nail prep like a makeup primer, without it, things won’t stick as well or look as smooth. At getloste.com, we’ve designed our kits to give you professional results at home, but the longevity of your set depends on how you treat your natural nails before the glue even touches them.
Follow this ultimate guide to prepping your nails to ensure your Loste set stays secure, comfortable, and gorgeous for weeks.

1. Start with a Clean Slate
Before you reach for your favourite Loste design, ensure your hands are clean and dry. Wash your hands with soap and dry them thoroughly.
Pro Tip: Avoid applying hand cream or cuticle oil right before application. Any moisture or oil left on the nail plate is the #1 reason press-ons lift early.
2. Perfect Your Cuticles (The Secret to a Seamless Look)
If you want your press-ons to look like real acrylics or gels, you need to focus on the cuticle area.
-
Use the wooden cuticle stick included in your Loste kit to gently push back your cuticles.
-
By clearing the "dead skin" off the nail plate, you create more surface area for the nail to bond to. This step will also ensure you don't apply the nails on top of your cuticles, making sure you get the best hold.
-
This also allows you to place the Loste nail slightly under the cuticle line for a seamless, "grown-from-the-root" appearance.

3. Buff Away the Shine
This is the most important step for long-lasting wear. Your natural nails produce oils that make the surface smooth and shiny. However, glue needs a bit of "grip" to hold onto.
-
Take your Loste nail file and use the textured side to lightly buff the entire surface of each nail.
-
You aren't trying to file down the nail; you just want to remove the natural shine until the nail looks matte.
-
Why it works: Buffing creates tiny microscopic ridges that the nail glue can grab onto, effectively "locking" the false nail in place.

4. Use the Loste Prep Pad (The Dehydrator)
In your kit, you’ll find an alcohol prep wipe. Do not skip this! This isn't just for cleaning; it’s a dehydrator.
-
Wipe down every single nail thoroughly with the prep pad.
-
This removes any remaining dust from filing and strips away every last trace of oil.
-
PRO Tip: If you want your press-on nails to last 2 weeks, dehydration is key. Once you’ve wiped your nails, try not to touch them with your fingers, as you’ll transfer oils back onto the nail!

5. Match Your Sizes Before You Start
Before opening the glue, line up your 10 Loste nails.
-
Each Loste nail is pre-numbered on the underside.
-
The Fit Test: Ensure the nail covers your entire nail bed from side to side without overlapping onto the skin. If you are between sizes, go for the smaller size or use your file to slightly shave down the edges of the larger one for a custom fit.
Summary: The Loste Long-Wear Checklist
To get that 14-day+ wear, remember these three "Must-Dos":
-
Push back those cuticles for a flush fit.
-
Buff the shine off to create a "grip" surface.
-
Dehydrate with the Loste prep pad to remove all oils.
Ready to apply? Read this next: How to apply your false nails.


