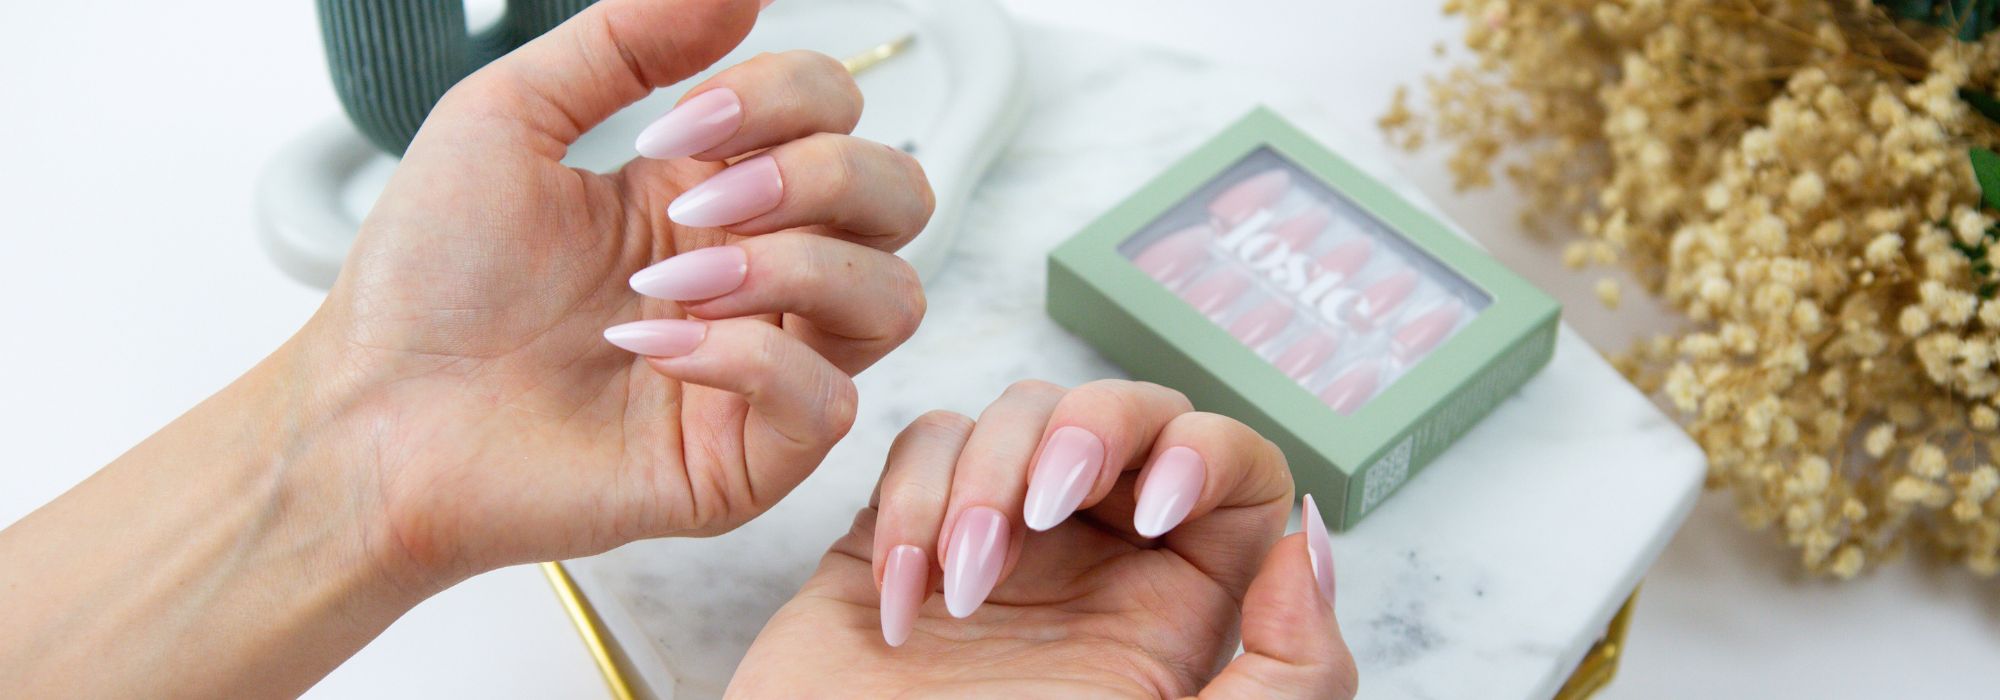
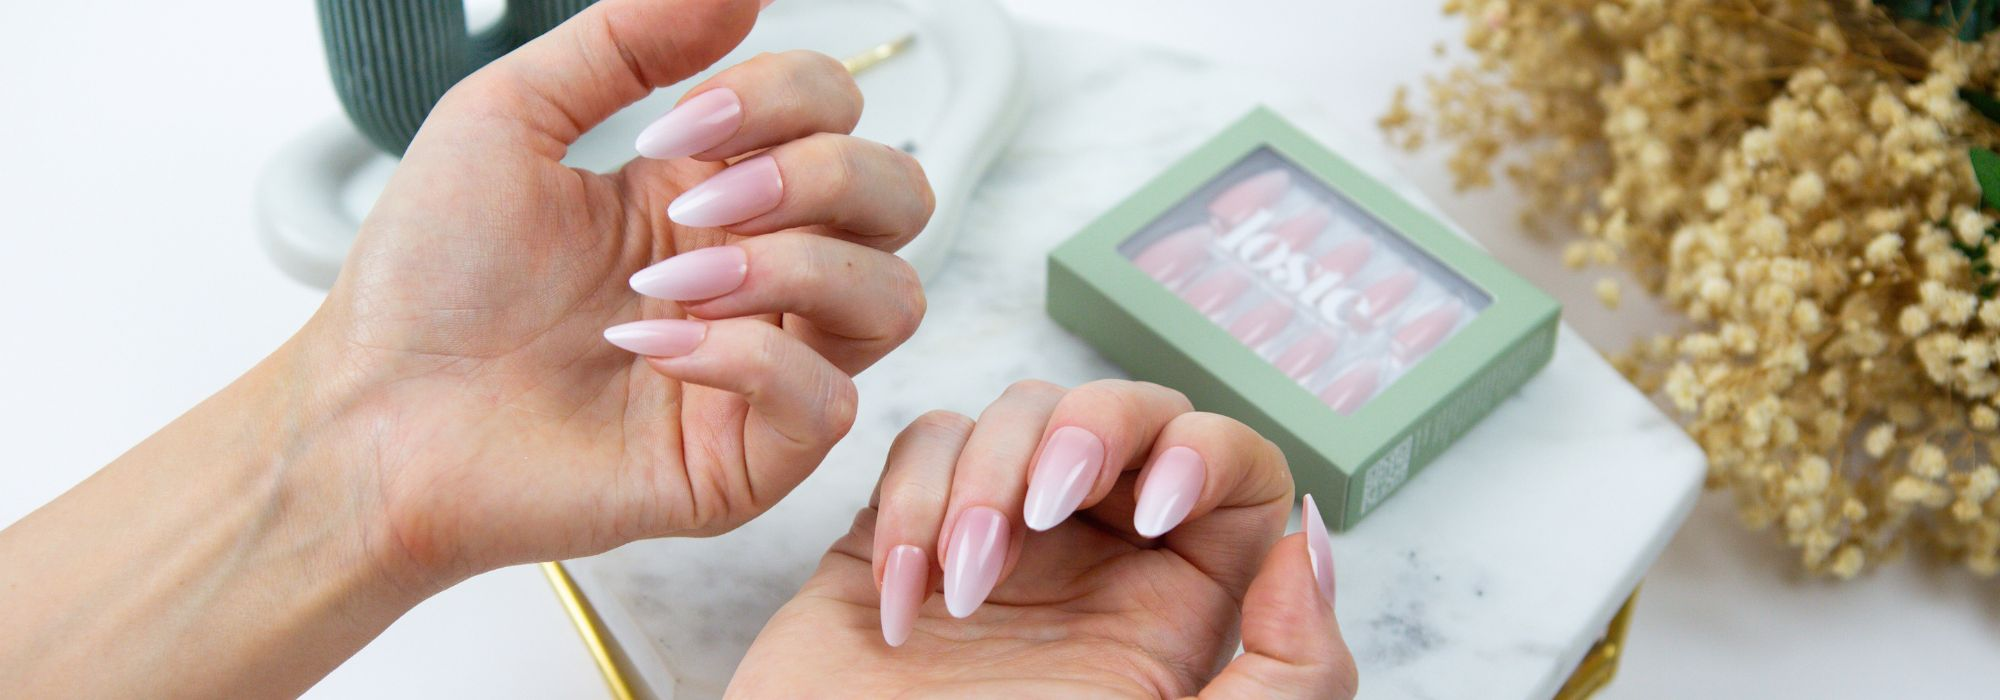
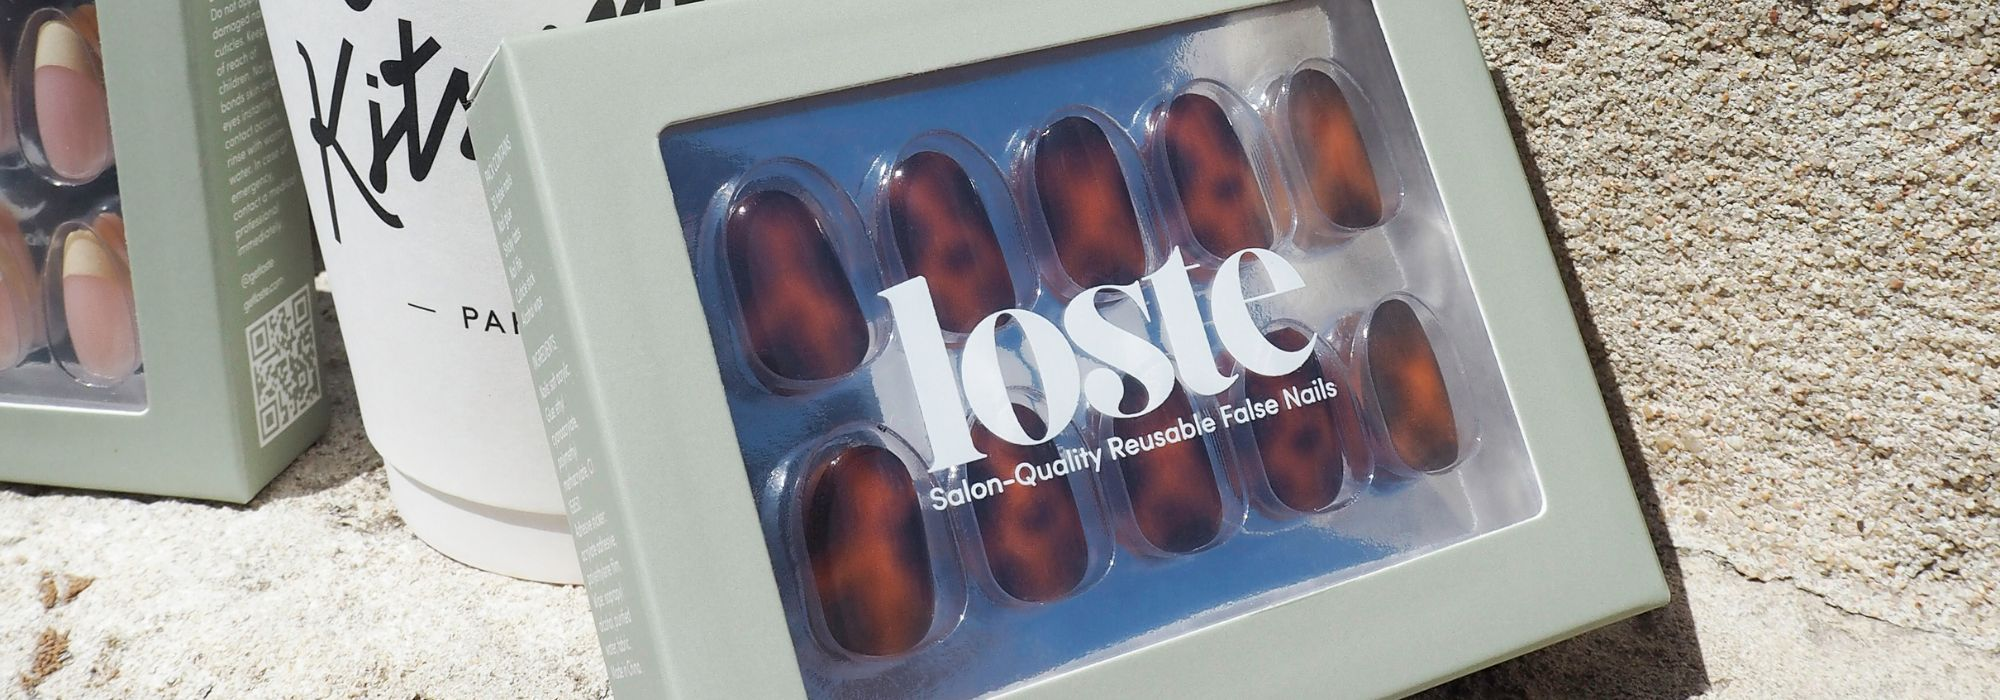
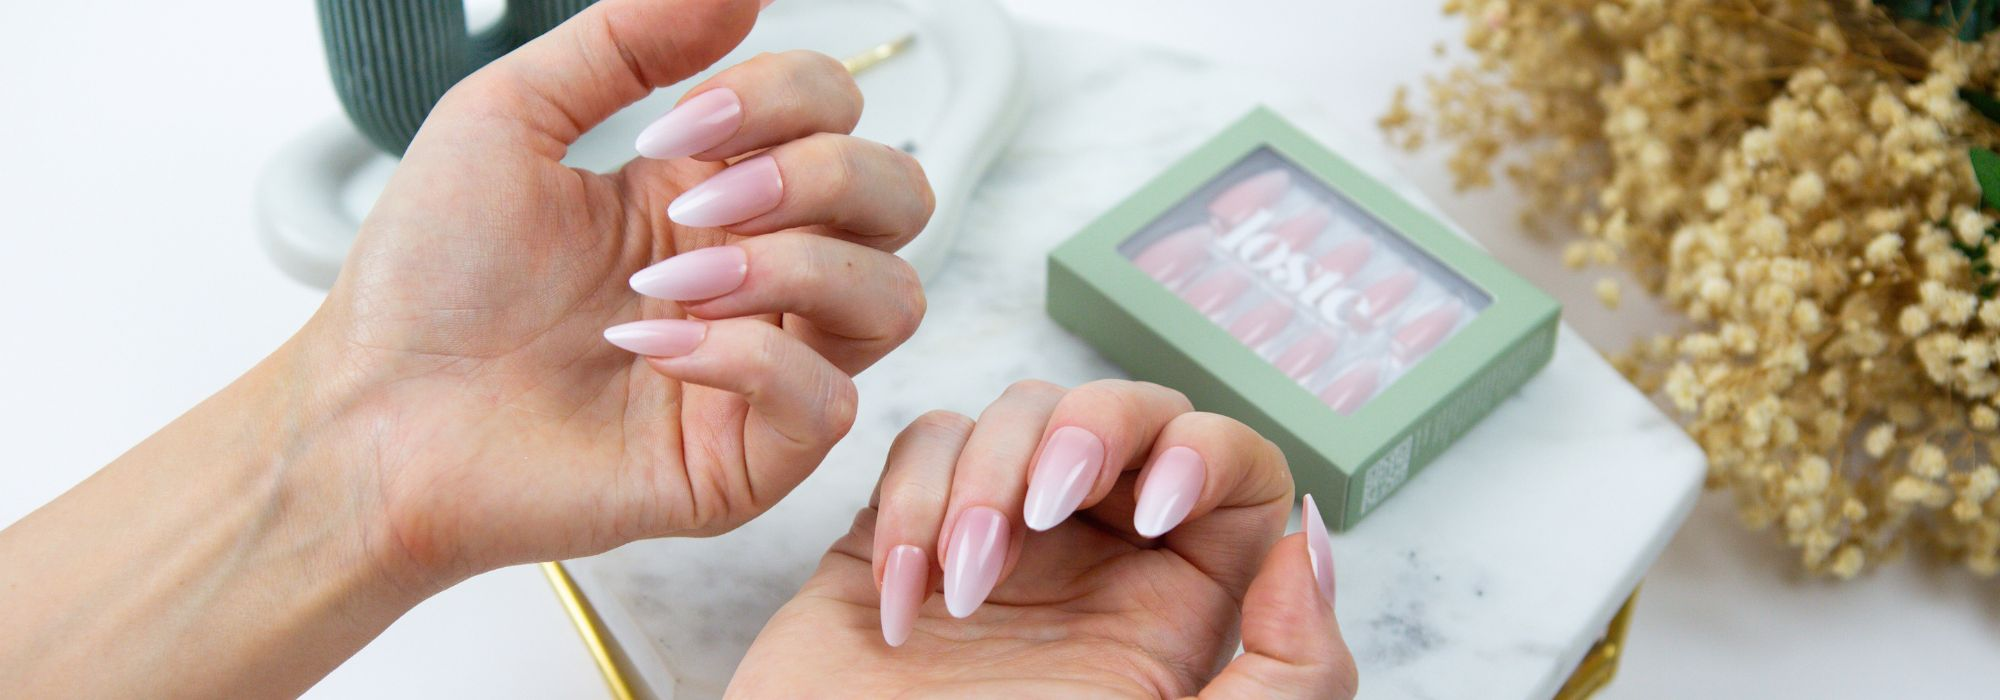
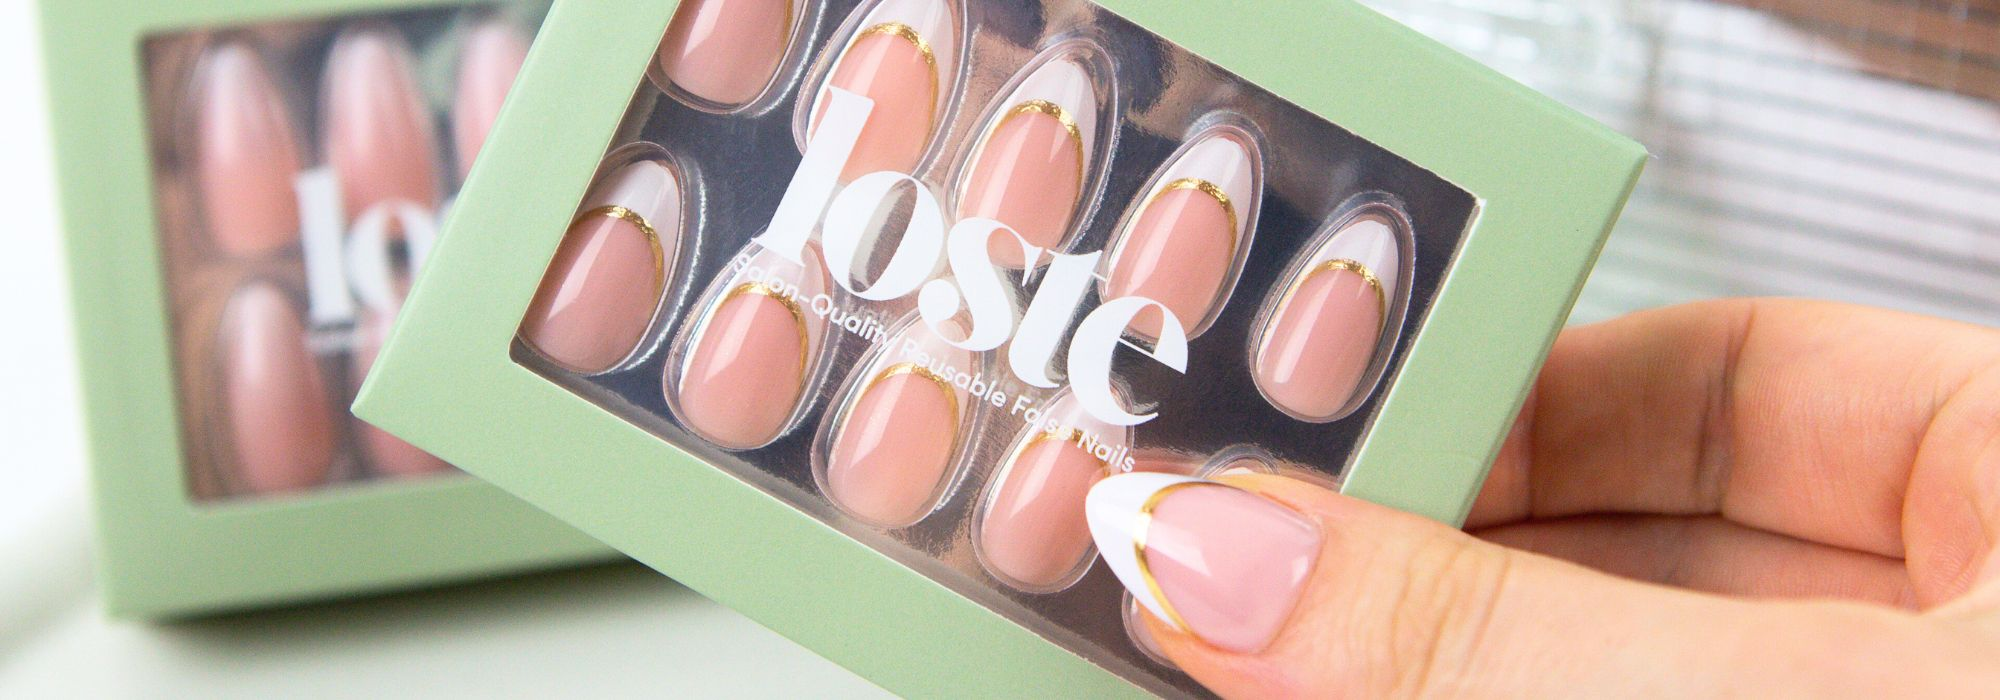
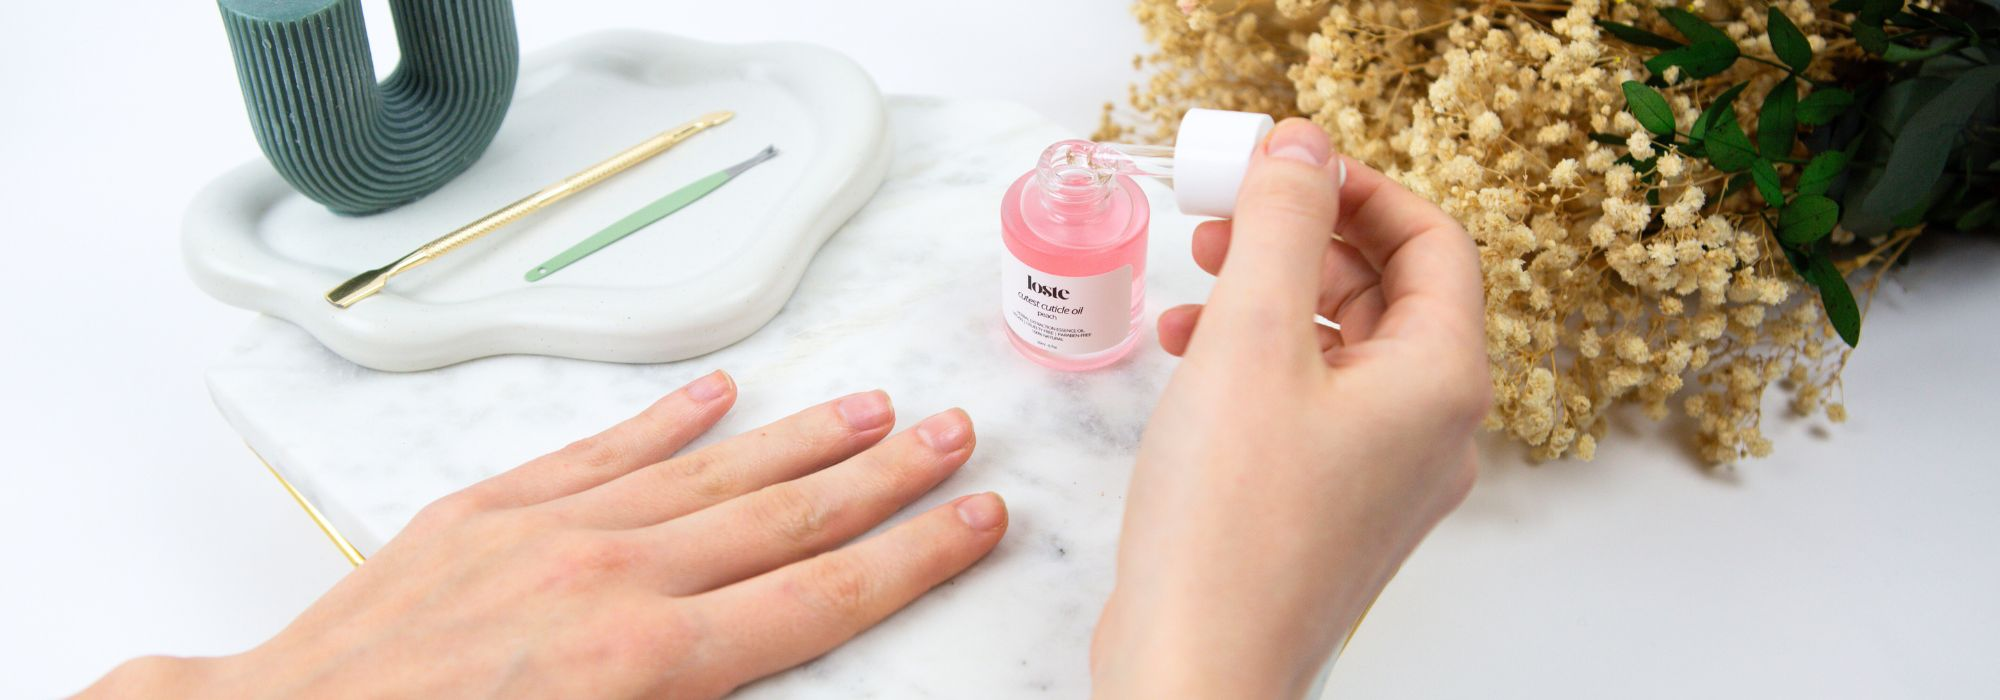
You’ve just got your hands on our viral press-on nails, and we couldn’t be more excited for you to try them. Whether it’s your first time or you’re already a seasoned pro, this guide will walk you through exactly how to apply your Loste false nails.
At Loste, we’ve redefined the false nail category with our luxury 5-layer soft gel press-ons. Whether you’re applying your nails for a big night out, a holiday, or just for everyday, we’re here to make sure your at-home manicure is effortless, long-lasting, and damage-free.
In this guide, we’ll walk you through how to apply Loste press-on nails using glue or sticky tabs, so you can choose the method that suits you best.
What’s in Your Loste Nail Kit?
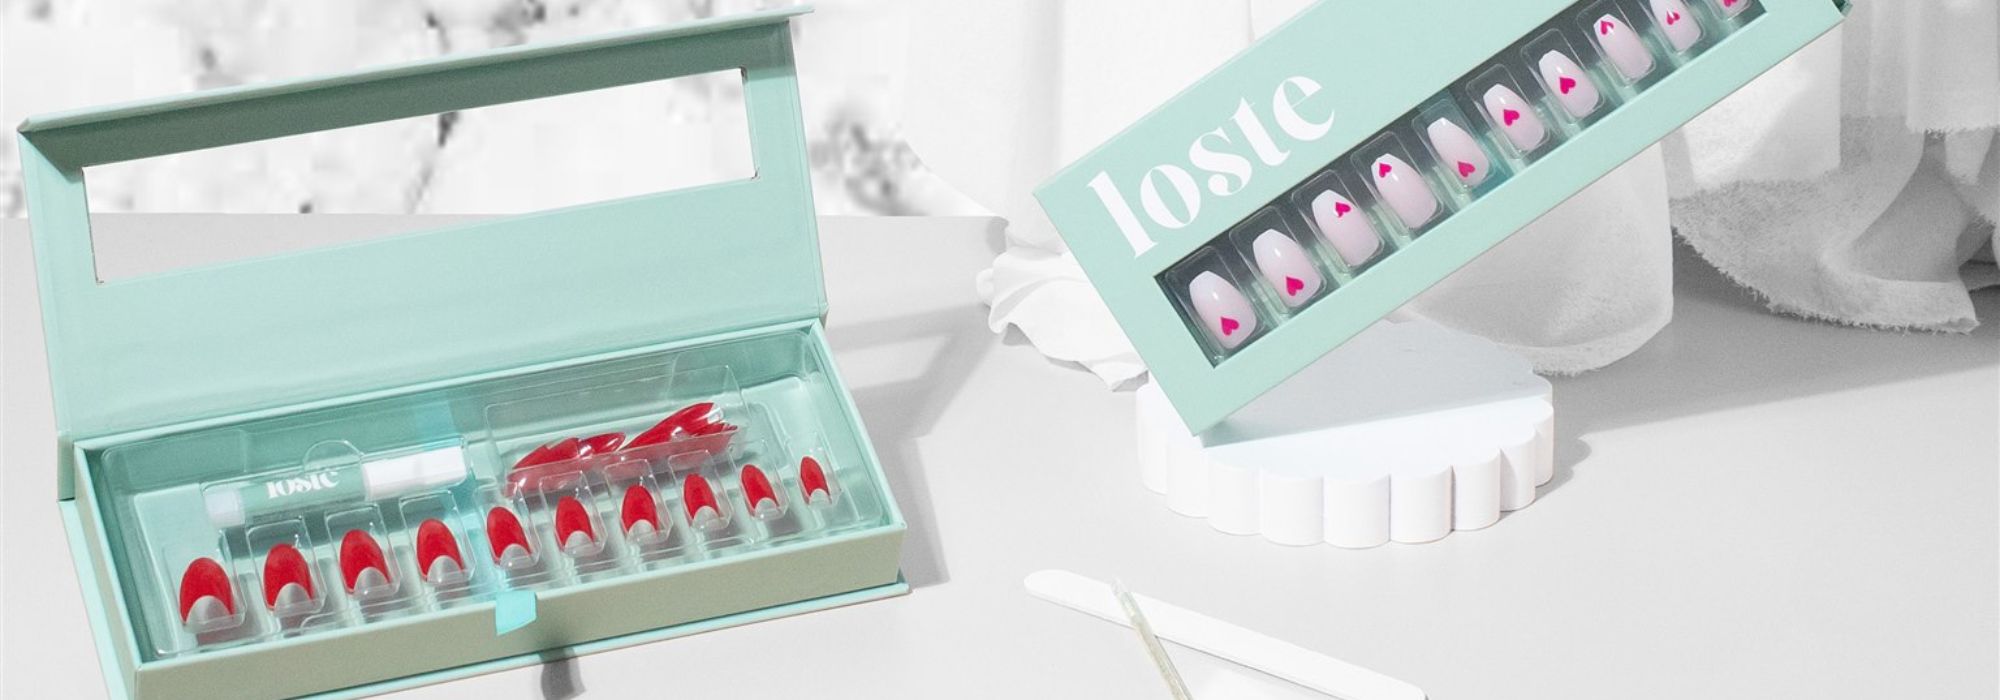
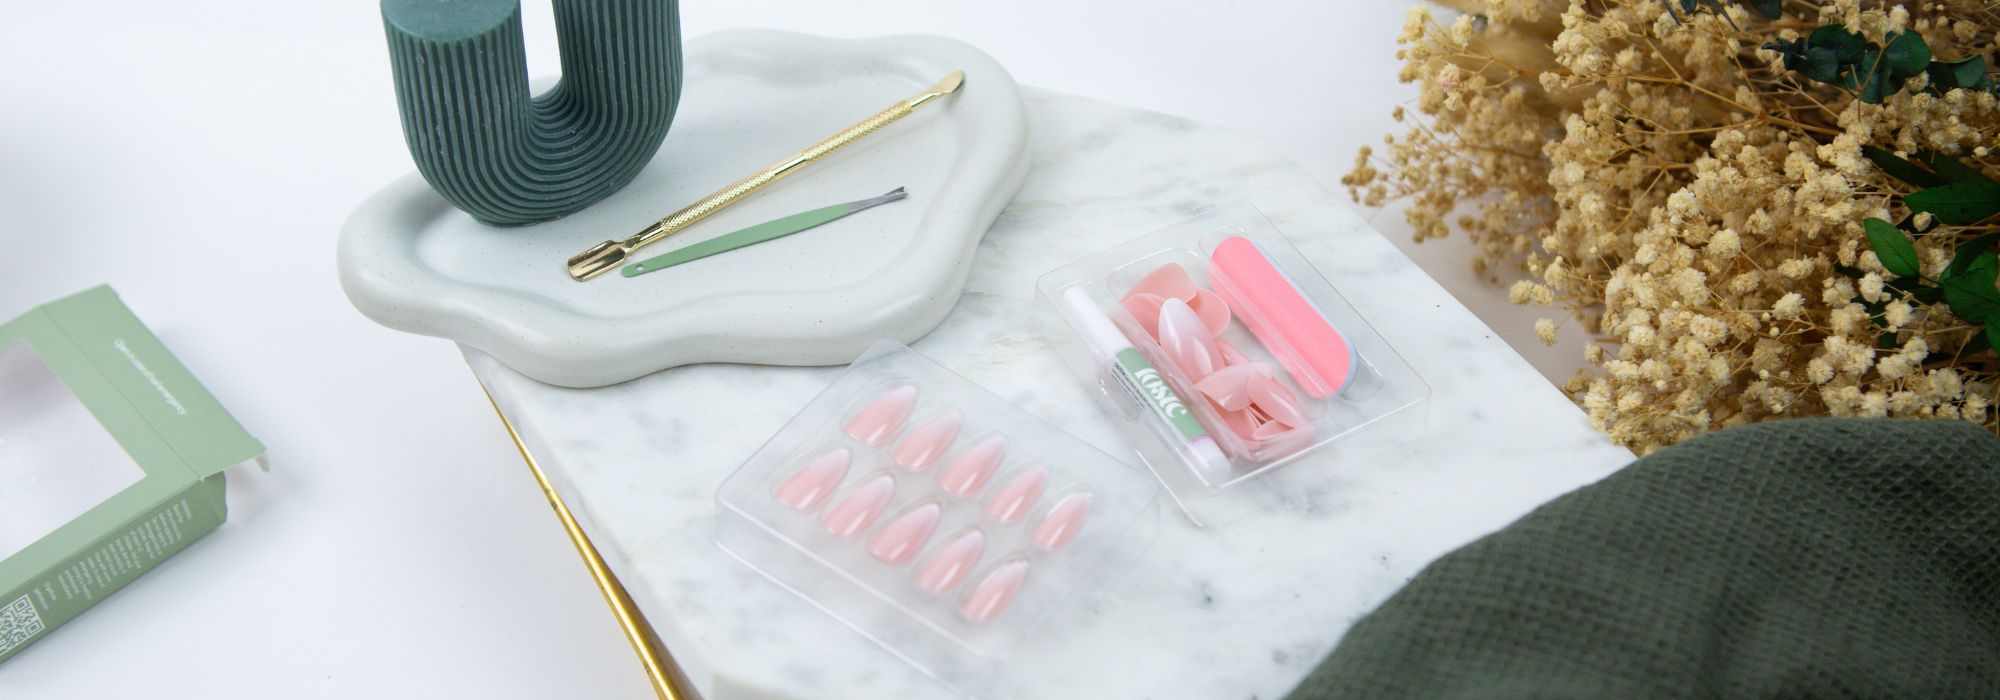
Every Loste false nail set includes:
- 30 soft gel false nails (pre-numbered for sizing)
- Stronghold nail glue
- Reusable sticky tabs
- Nail file
- Cuticle stick
- Alcohol wipe
Section 1: How to Apply Press-On Nails with Glue
(For Long-Lasting Wear)
Best for: Holidays, events, day-to-day wear
Lasts: 14 days+
Step 1: Prep Your Natural Nails

Proper prep makes all the difference in helping your nails stay put.
- Remove any existing nail polish or oils using the alcohol wipe provided.
- Use the cuticle stick to gently push back your cuticles.
- Lightly file your nails to your preferred shape and remove any shine with the file.
- Ensure your natural nails are clean and completely dry.
- Tip: The cleaner your nails, the better the glue will bond.
Step 2: Choose Your Nail Sizes

Each nail in the kit has a small number printed on the underside at the top. Lay out the correct sizes for each of your fingers before you begin.
- The press-on should fit edge-to-edge without overlapping your skin.
- If you're between sizes, opt for the smaller size for a more natural fit.
Step 3: Apply with Glue

- Apply a thin layer of glue to both your natural nail and the back of the press-on.
- Place the nail at a 45° angle, aligning it just above the cuticle.
- Press down firmly for 15 seconds.
- Wipe away any excess glue from the sides with the alcohol wipe. Avoid getting any glue on the top of the false nails.
- Repeat on all fingers and file to your desired shape if needed.
How to Make Glue-On Nails Last Longer
- Avoid soaking hands in hot water for the first hour
- Wear gloves when washing up or cleaning
- Reapply a small amount of glue if any nail starts to lift
- Don’t use your nails as tools!
Section 2: How to Apply Press-On Nails with Sticky Tabs (For Temporary Wear)
Best for: Occasions, content shoots, last-minute glam, healing nails
Lasts: A few hours to 2–3 days
Step 1: Prep Your Natural Nails

Follow the same prep routine as with glue:
-
- Remove any existing nail polish or oils using the alcohol wipe provided.
- Use the cuticle stick to gently push back your cuticles.
- Lightly file your nails to your preferred shape and remove any shine with the file.
- Ensure your natural nails are clean and completely dry.
- Tip: The cleaner your nails, the better the glue will bond.
Step 2: Apply Sticky Tabs

- Choose the correct sticky tab size for each nail.
- Peel off the backing and apply directly to your natural nail.
- Press firmly and smooth out any air bubbles.
- Peel off the top layer of the tab to reveal the sticky surface.
Step 3: Attach the Press-On Nail

- Align the false nail at a 45° angle just above the cuticle.
- Press and hold for 15 seconds to ensure strong adhesion.
- Repeat on all nails and shape if needed.
Tip: Sticky tabs work best on short, clean nails. Avoid water for at least 30 minutes after application.

Why Choose Loste Nails?
At Loste, we’ve spent over two years developing a product that combines salon-level quality with real-life convenience. Our press-ons feature:
- 5-layer soft gel technology for strength, flexibility, and a glossy finish
- Up to 10 wears per set
- Zero damage to your natural nails
- Fully recyclable packaging and lower waste compared to acrylics
Whether you prefer the lasting power of glue or the flexibility of sticky tabs, Loste makes beautiful nails simple, sustainable, and luxurious.
Final Tips
- Store your used nails for future reapplication; they’re reusable!
- Use cuticle oil between wears to keep your nails and skin healthy
- Watch our Instagram tutorials and TikTok videos for extra tips, styling inspo, and real-time demos

